Integrating to Eloverblik
For facilities located in Denmark, leveraging the Eloverblik integration through the BeWo platform simplifies the tracking and reporting of electricity usage. This integration is pivotal for comprehensive energy management and enhancing sustainability initiatives.
Prerequisites: Eloverblik can only integrate to Danish organizations that own an electricity agreement directly with their supplier. The integration is only intended for organizations that manage their own electricity agreement.
Setting Up and Completing the Integration Process
The integration process involves several critical steps, from initiating the integration within BeWo to finalizing legal permissions and configuring data points for accurate monitoring.
Step 1: Initiating the Integration
- Access Eloverblik: Go to the “Eloverblik” section within the BeWo platform and select “View” to start the process.
- Select Your Organization: Within “Eloverblik integrations,” choose the organization you intend to set up for this integration.
- Specify Reporting Year and Create Integration: Pick the reporting year you're integrating for and click “Create”.

Upon completing these initial steps, you'll be guided to a dashboard showing various aspects of the integration, including your “Power of Attorneys”, “Metering points” and “Integration Status”, .
Step 2: Finalizing Legal Permissions and Configuring Data Points
After establishing the basic framework of the integration you have to sign a power of attorney.
-
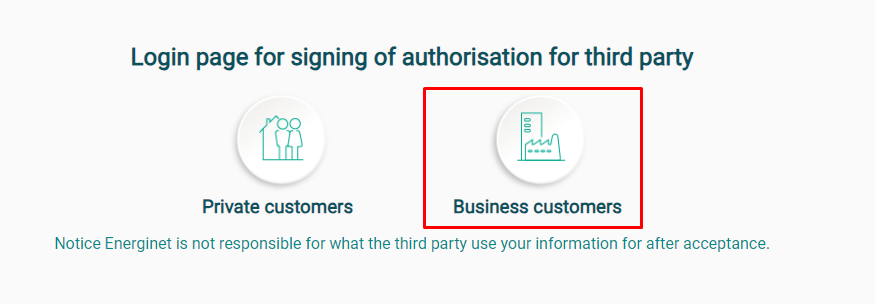
Set Up Power of Attorneys: You must visit the Eloverblik site and sign a Power of Attorney using MitID. This step is essential for legally authorizing the integration's access to your electricity data.
-
Click
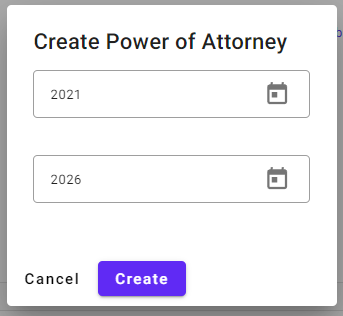
+ Create power of attorney
-
Select the time period for the power of attorney (Eloverblik can only collect data from a few years prior and ahead).
-
-
Go to Eloverblik.dk: Click the
Awaiting signature. Sign herebutton.
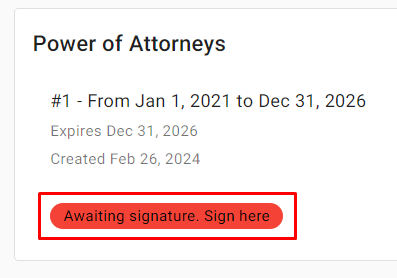
- Sign the Power of Attorney: Carefully follow the provided instructions on the Eloverblik site to complete this authorization step.
Please check out this guide below (Danish only).
Guide from Eloverblik on how to share data via a power of attorney (DA)
Step 3: Setup Metering Points
With the legal authorizations in place:
- Configure Metering Points: Back on the BeWo platform, under the “Metering points” section, configure your metering points. This involves assigning each metering point to the appropriate facility, ensuring accurate and reliable data collection.

- Assign and Review Metering Points: Drag unmatched metering points to their correct facilities on the left side of the configuration screen. This step is crucial for the integrity and accuracy of your electricity usage data.

The setup is considered complete once you have successfully configured the metering points, allowing the integration to actively collect and display data on your electricity consumption.
Monitoring Your Electricity Usage
With the integration fully set up, you can monitor your electricity usage in detail:
- Integration Status Overview: This dashboard feature shows comprehensive electricity usage data across all facilities, with customizable parameters for time frame and data type (kWh or CO2 emissions).
- Aggregate Electricity Usage: For a broader perspective, the “Eloverblik Status” section aggregates electricity usage data from all your organizations into one graph, facilitating trend analysis and strategic planning.
